Thai Roti Dessert
Thin, stretchy homemade dough pan-fried in oil and butter until golden and crispy, then drizzled with sweetened condensed milk, just like the Thai street-market classic. The plain no-filling version is the best way to learn the technique, with a crisp outside and a soft, slightly chewy center.
- 140 min (110 prep · 30 cook)
- 15 roti
- $
- medium
- Thai

Scan with your phone or iPad camera to open this recipe there.
Ingredients
Dough
Frying and Topping
Equipment: non-stick pan, rolling pin
Method
- Make the dough
- 1
Add the flour to a large mixing bowl, make a well in the center, and add the egg, salt, and 5 tbsp oil.
- 2
Gradually pour in the lukewarm water while kneading by hand; knead until smooth and elastic and the dough bounces back slightly when pressed.
- 3
Cover with a damp towel and rest 1 hour, then stretch and pull the dough several times with both hands to develop the gluten.
- Shape
- 4
Divide into equal portions of about 2.5 oz (70 g) and shape each into a ball by pulling the dough downward and tucking it underneath.
- 5
Brush each ball generously with melted butter, place in a bowl, cover with a damp towel, and rest 30 minutes.
- Stretch
- 6
Flatten each ball into a thin sheet with your hands or a rolling pin, or stretch it by gently throwing it onto a flat surface.
- 7
Lift one edge and let the dough stretch naturally as it falls into your other hand, then stretch once more: very thin for crispy roti, slightly thicker for softer roti.
- Fry
- 8
Heat 1 tbsp oil and a little of the remaining melted butter in a non-stick pan over medium heat, add one dough sheet, and fry until golden brown and crisp on both sides, flipping as little as possible.
- Serve
- 9
Repeat with the remaining dough and serve immediately, drizzled with sweetened condensed milk and sprinkled with sugar or your favorite topping.
Tips
- The 5 tbsp oil goes into the dough; use a separate 1 tbsp oil for frying each roti.
- Do not skip or shorten the resting times, since they give the dough its stretch and texture.
- Coat the dough balls generously with good-quality butter for a flaky, golden crust.
- Fry the roti one at a time and avoid flipping too often.
- The dough can be made ahead and refrigerated, covered, for 2–3 days before stretching and frying.
- Store cooked roti in an airtight container in the fridge for up to 5 days and reheat in a dry non-stick pan to re-crisp.
- Try other toppings such as Nutella, jam, or ice cream, or add banana or egg like street vendors do.
- Medium heat for frying is an assumption, since the source does not specify a heat level.
Pairs with
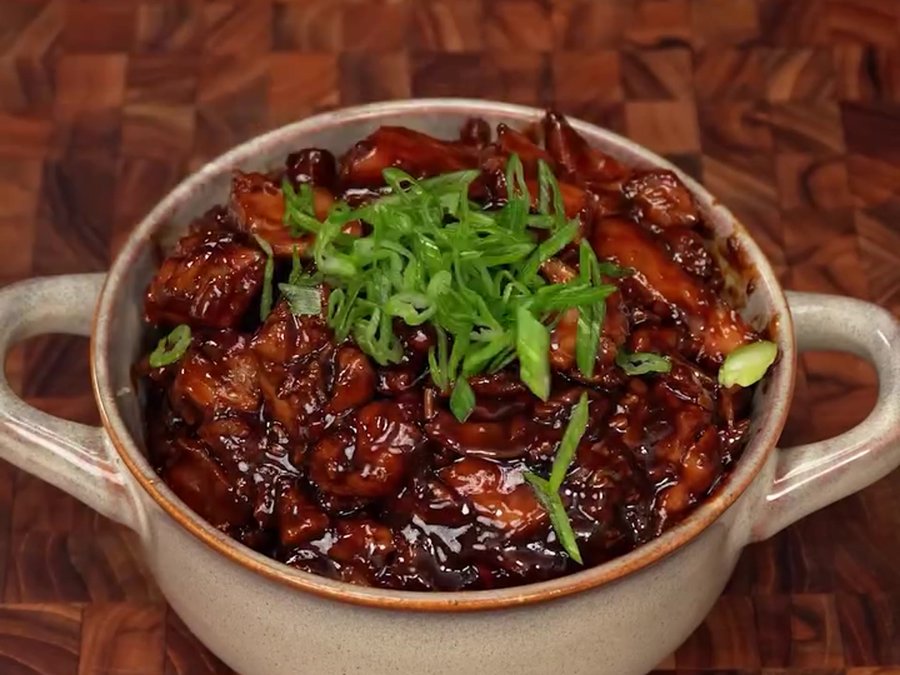 Bourbon Chicken (No Bourbon)Sweet crispy roti finishes a soy-ginger dinner
 Tomato Coconut Curry with Sourdough FlatbreadSweet condensed-milk roti cools the chili curry
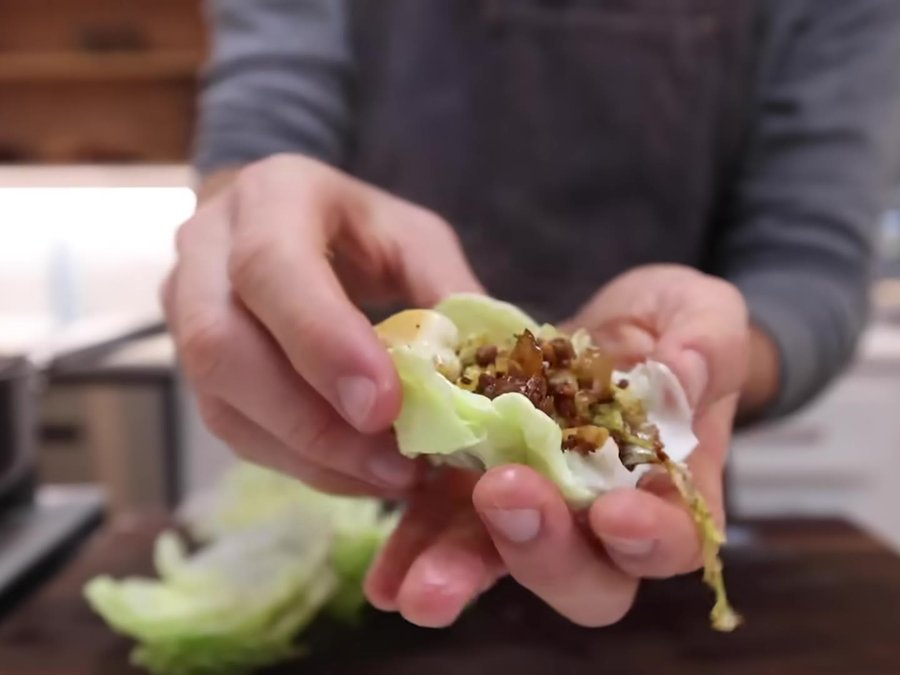 Sausage and Cabbage Lettuce WrapsCrispy sweet roti after savory Asian wraps
 Szechuan Beef Noodles with Scallions and Sesame SeedsSweet milky roti soothes spicy Szechuan noodles